Common knowledge of flanges: general methods and steps for reading drawings
Release Time:
2023-03-10
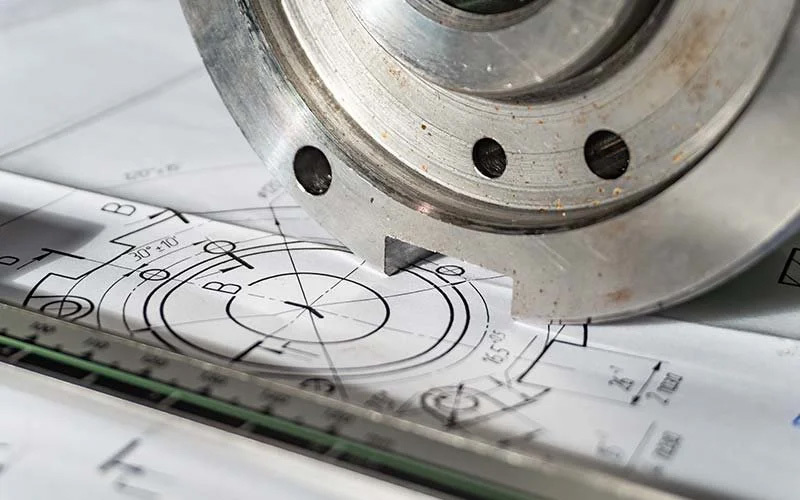
In the production of flanges, it is necessary to frequently contact various drawings, and use views, sectional views, and sectional views to show the internal and external structure of the flange; the outline size and transformation of each part. Reading drawings is the basic requirement of flange manufacturers for employees.
In the production of flanges, it is necessary to frequently contact various drawings, and use views, sectional views, and sectional views to show the internal and external structure of the flange; the outline size and transformation of each part. Reading drawings is the basic requirement of flange manufacturers for employees.
General methods and steps for reading flange drawings:
(1) First look at the title bar to get an overview of the parts
Look at the title bar to understand the name, material and proportion of the part, so as to understand the function of the part in general, and judge which type of part the part belongs to from the name. Judging the approximate processing method of the part from the material. Judging the actual size of the part from the ratio, so as to have a preliminary understanding of the part.
(2) Analyze the research view and imagine the shape of the structure
Look at the view, analyze the configuration of each view of the part and the relationship between the views, the expression method and content of the expression, use the drawing method of the combination, the shape analysis method and the line surface analysis method to understand the structure of each part of the part, Imagine the shape, relative position and function of each part of the part.
(3) Analyze all sizes and clarify size requirements
Comprehensively analyze the view and shape, analyze the dimensional benchmarks in the three directions of length, width and height of the part, then start from the benchmark, take the structural shape analysis as a clue, and then understand the shaping and positioning dimensions of each shape, and clarify the role of each size, graphics The dimension and dimension express the shape and size of the part. When reading the drawing, the view, dimension and shape structure should be combined and analyzed.
(4) Analyze technical requirements and comprehensively understand the whole picture
When reading the drawing, you should clarify the technical requirements such as surface roughness, dimensional tolerance, and shape tolerance. Understand the meaning of its code name. If necessary, contact the parts related to the part to analyze together.
Label:
Relevant Information


